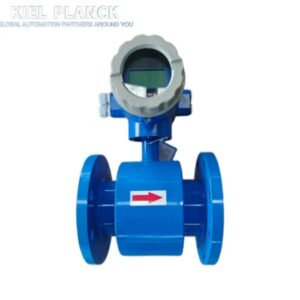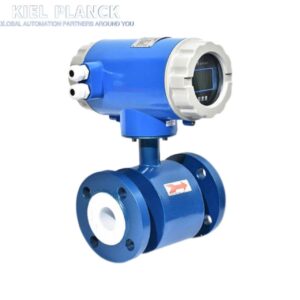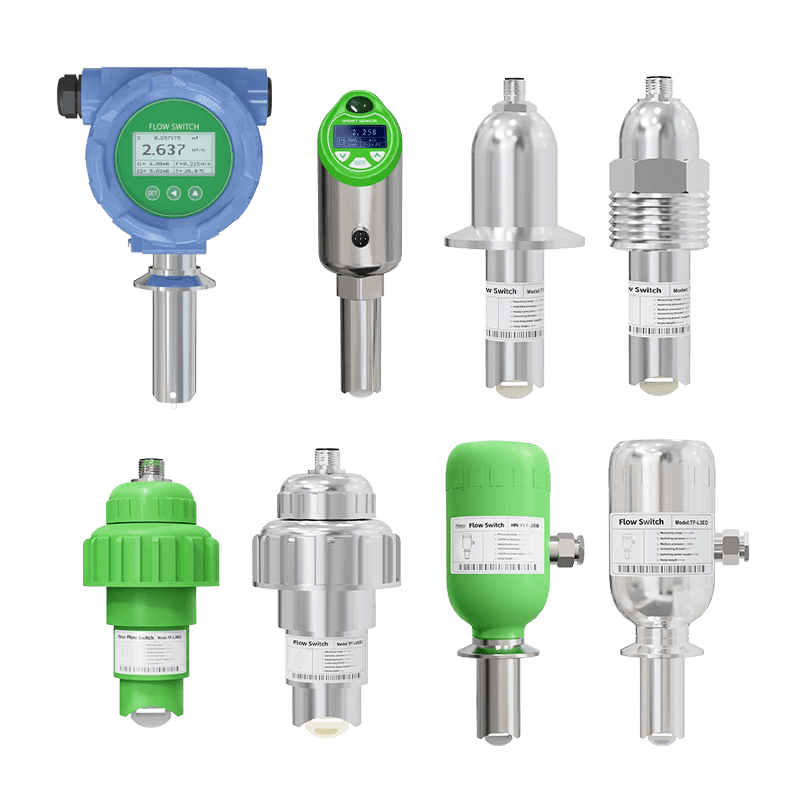
A multi-parameter water quality analyzer is a device that integrates multiple sensors and intelligent technologies. It can simultaneously, quickly, and accurately monitor multiple key parameters of water bodies and is suitable for various scenarios such as environmental monitoring, industrial wastewater detection, aquaculture, and emergency response.
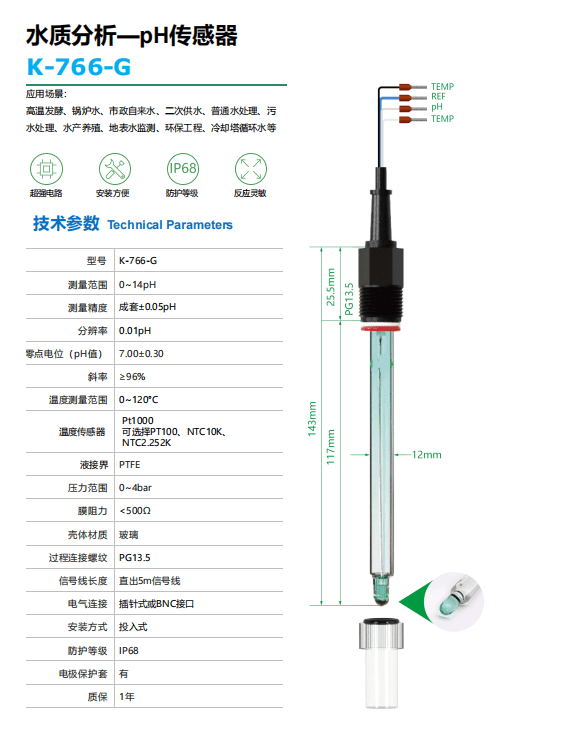
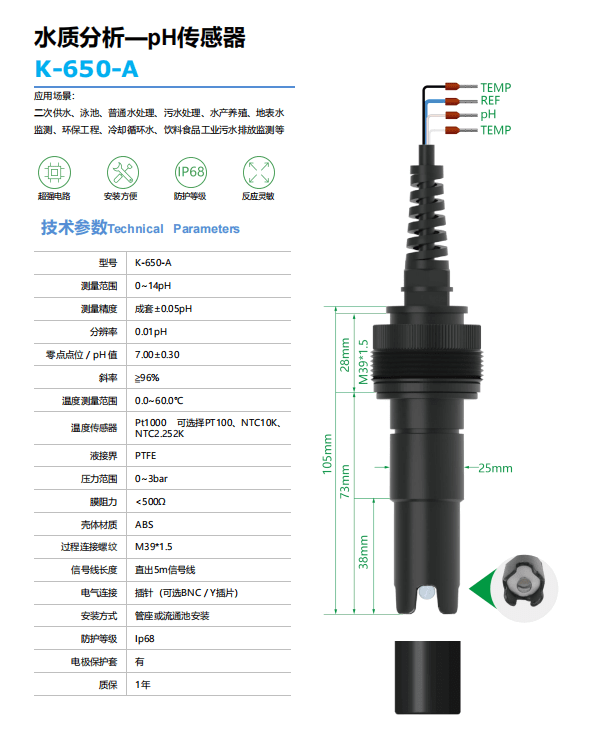
I. Core Features and Types of Multi-Parameter Water Quality Analyzers
1. Core Functions and Parameters
Simultaneous Multi-Parameter Detection: Simultaneously measures core indicators such as pH, dissolved oxygen, turbidity, conductivity, temperature, COD (Chemical Oxygen Demand), ammonia nitrogen, total phosphorus, and total nitrogen. Some devices also support the detection of heavy metals (e.g., lead, mercury), pesticide residues, and organic pollutants.
Portability and Flexibility: Compact size (e.g., 167×80×30mm), lightweight (263g), equipped with a waterproof carrying case or aluminum alloy outer case, facilitating foot patrols or vehicle transport, adaptable to complex environments such as field and remote areas.
Intelligent and Easy-to-Use Features: Supports one-button detection, automatic calibration, and error alarms; simple operation, no professional technical training required; pure button operation design, usable even with wet hands.
2. Main Types
Laboratory Benchtop Multi-Parameter Analyzer: Integrates electrochemical modules (pH/DO/EC/heavy metals) and spectrophotometric modules (COD/ammonia nitrogen/total phosphorus), supports simultaneous detection of 8-12 parameters, equipped with a large touchscreen, autosampler, and quartz detection cell; requires fixed placement (weight 10-30kg).
Portable Multi-Parameter Analyzer: Modular design (pH/DO/EC modules or COD/ammonia nitrogen modules can be freely combined), weighs 1-5kg, includes a rechargeable battery (8-12 hours of runtime) and a waterproof casing (IP67 protection), with a simple user interface.
Online multi-parameter water quality monitor: Composed of a sampling system, multi-module detection unit, data transmission module, and quality control system, it can operate continuously for 24 hours, with a detection cycle of 10-60 minutes/time, and data is uploaded to the monitoring platform in real time.
Direct-reading and self-contained types: The direct-reading type consists of an above-water unit and an underwater unit, connected by a watertight transmission cable, and reads data directly during measurement; the self-contained type only has an underwater unit with a built-in power supply, can work independently, and reads data all at once after measurement.
II. How to correctly use a multi-parameter water quality analyzer
1. Preparation before use
Equipment inspection: Confirm that the equipment has no physical damage, that the portable device has sufficient battery life, that the storage module has sufficient capacity, and that key components such as electrodes and sensors are securely installed.
Reagent preparation: Prepare the corresponding reagents according to the detection parameters, ensuring that the reagents are within their expiration date and labeling them with the preparation date and expiration date.
Environmental preparation: Ensure the working environment temperature is 15-30℃, humidity ≤70%, and keep away from direct sunlight and strong electromagnetic fields.
2. Calibration Procedure (Key Steps)
Zero-point Calibration: Immerse the electrode in ultrapure water (conductivity < 0.1 μS/cm), eliminate baseline drift using the instrument’s built-in zero-point adjustment function, and continuously stir the solution to ensure uniform ion distribution.
pH Electrode: Perform zero-point calibration using pH 6.86 standard buffer solution.
Dissolved Oxygen Electrode: Perform zero-point calibration using sodium sulfite deoxygenated water (< 0.1 mg/L).
Slope Calibration: Use at least two standard solutions for calibration.
pH Electrode: Perform slope calibration using pH 4.00 (or 10.00) standard buffer solution.
Dissolved Oxygen Electrode: Calibrate the upper limit of the slope using air-saturated water (approximately 9.0 mg/L at 20℃).
Ammonia Nitrogen Calibration: Manually connect 0 mg/L (blank reagent) and 5 mg/L (standard solution) sequentially to the device’s sampling port.
Calibration Validation: Perform 7 consecutive measurements using the same standard solution, calculate the relative standard deviation (RSD), which is typically required to be < 2%.
3. Measurement Procedure
Sample Collection: Collect water samples according to testing requirements, avoiding contamination, and perform testing promptly.
Sample Pretreatment:
COD requires heating digestion for 30 minutes; ammonia nitrogen requires the addition of a masking agent to remove interference.
For turbidity testing, the water sample should be injected into a colorimetric tube (avoiding air bubbles).
Parameter Selection: Select the item to be tested on the instrument’s main menu interface.
Blank Measurement: Place a blank sample (e.g., distilled water) into the colorimetric well, click “Blank Measurement,” and subtract the blank value.
Sample Measurement: Place the prepared sample into the colorimetric well, select the “Sample Measurement” option, and the instrument will automatically calculate and display the results.
Data Recording: Select “Save” or “Print” to save or output the measurement data.
4. Typical Parameter Detection Process Example
COD Detection: ① Water sample pretreatment (heat digestion for 30 minutes); ② Add special reagent and react at a constant temperature for 15-20 minutes; ③ Switch the instrument to 600nm wavelength, measure the absorbance, and automatically calculate the concentration.
Turbidity Detection: ① Inject the water sample into the colorimetric tube (avoid air bubbles); ② Infrared light passes through the water sample, and the detector simultaneously receives transmitted and scattered light; ③ The instrument calculates the turbidity using the “scattered light/transmitted light ratio.”
Total Hardness Measurement: ① Prepare hardness reagent one and hardness reagent two; ② Dilute hardness reagent one and distilled water at a ratio of 1:4; ③ Select an appropriate measurement range (H/L/M); ④ Prepare blank and sample samples; ⑤ Add reagents and let stand for 5 minutes; ⑥ Select parameters to measure the blank and sample samples.
III. Maintenance and Care Points
1. Daily Maintenance
Electrode Maintenance:
pH electrodes should be soaked in a 3 mol/L potassium chloride solution when not in use for extended periods. The electrolyte should be replaced every 3 months.
Dissolved oxygen electrode membranes should be inspected monthly. Replace immediately if cracks or contamination are found. After replacement, repolarize for 24 hours.
Electrodes should be activated in tap water for 24 hours before use to avoid prolonged exposure to air, which can affect performance.
Sensor Maintenance:
Optical sensors should be cleaned weekly with a soft brush and neutral detergent to remove surface contaminants. Avoid using organic solvents.
Check the sensor and fluorescence head for damage and clean them every 30 days.
2. Periodic Calibration Specifications
Zero-point calibration: Performed daily, ensuring the deviation of each parameter’s baseline value is ≤0.1%.
Single-point calibration: Performed monthly, using a standard solution matching the actual measurement range, with relative deviation controlled within ±3%.
Full-range calibration: Performed quarterly, covering the 0-100% measurement range, with a calibration curve correlation coefficient R² ≥ 0.999.
Before calibration: Equilibrate the standard solution and instrument to the same temperature (25±1℃) to avoid errors introduced by temperature differences.
3. Troubleshooting
Data Anomalies: Check if the monochromatic light passes normally in the colorimetric cell, confirming the light source is functioning correctly; verify if the blank solution and sample are from the same batch of water samples; check if the currently used curve value setting is 0.
Power and Display Faults: Check if the power cord connection is normal and if the plug is loose; confirm if the power socket output is normal, and check if the fuse is blown.
Sensor Faults: Check the sensor surface for dirt, bubbles, or biofilm; clean with a soft brush dipped in neutral detergent.
Tubing Faults: Check if the Teflon tubing in the reagent bottle is inserted to an abnormal depth; confirm if there is any blockage in the reagent tubing.
Add me as a friend to learn more.